
The graphic design process is a structured journey that transforms creative ideas into impactful visuals. From understanding the client’s needs to delivering the final product, each step plays a crucial role in ensuring effective communication. Therefore, mastering each phase can significantly improve both efficiency and design quality.
Key Takeaways
- Strong workflow helps improve consistency, clarity, and results.
- Client satisfaction increases through a structured creative design process.
The 6 Steps of Graphic Design for Stunning Visual Results
We’ll walk you through 6 graphic design process steps that will help you achieve professional results every time. Just make sure not to skip any step along the way!
1. Understanding the Client Brief
The first step is understanding the client’s brief. This document outlines the core requirements of the project, such as objectives, target audience, preferred style, required deliverables, budget, and deadline. Taking time to go through the brief in detail clarifies expectations and prevents miscommunication.
At this stage, asking questions is essential: What is the message the client wants to convey? Who are the end users? What are the brand guidelines? By ensuring a solid understanding from the beginning, you can create a design that is both relevant and strategic.
Also Read: Logomark vs Logotype: A Strategic Approach to Visual Branding
2. Research and Brainstorming
With a clear brief in hand, the next phase is research. This involves studying the client’s industry, analyzing competitors, and reviewing current design trends. As a result, your ideas become rooted in real-world context. Consequently, your design is more likely to stand out while still aligning with audience expectations.
Next comes brainstorming, where you generate ideas and explore visuals. Using mood boards, sketches, or mind maps can help you spark creativity. This step is essential in shaping clear, engaging concepts. It’s a vital part of the design process for graphic designers.
3. Developing Visual Concepts
After the brainstorming stage, the strongest ideas are transformed into initial visual concepts. These may begin as rough hand-drawn sketches or simple digital drafts. The goal is to explore multiple interpretations of the brief. This variety encourages meaningful discussion and feedback from the client.
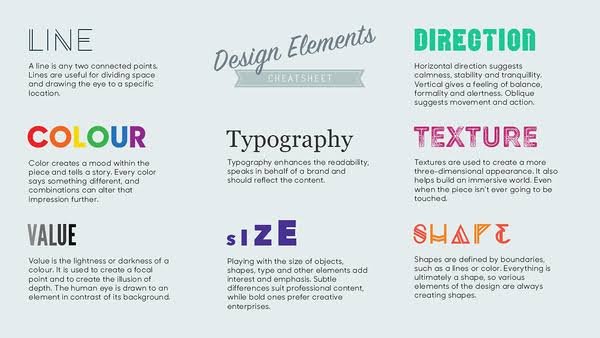
As your concepts develop, refine the layout, typography, and color choices to create a more cohesive visual direction. According to Michal Malewicz, co-founder of HYPE4.com, visual design differs from art by focusing on clarity and usability. Therefore, strong visual skills are essential in this phase. Use tools like Figma or Illustrator to present clear directions.
Also Read: How to Patent a Logo and Secure Your Brand Identity
4. Feedback and Revisions
Feedback is super important in the graphic design process. Once your initial concepts are reviewed, clients typically offer comments or suggest revisions. It’s essential to stay open-minded and accept constructive input. At the same time, use your design expertise to guide and clarify decisions when needed.
Depending on the feedback, revisions can range from minor tweaks to major changes. That’s why it’s important to agree on the number of revision rounds upfront, typically two or three. This ensures better control over the timeline and project scope. To stay organized, make use of collaborative tools or annotated files to track changes effectively.
5. Finalization and Delivery
Once the design has been approved, it’s time to polish and finalize the files. This stage focuses on refining visual details, like spacing, alignment, color accuracy, and typography, while ensuring the design is technically ready for use. It’s a crucial part of the overall design process graphic design demands.
Export the final work in the appropriate file formats. For print materials, you might need high-resolution PDFs with bleed and crop marks; for digital assets, you’ll often deliver optimized PNGs, JPEGs, or SVGs.
It’s also best practice to include editable source files and any necessary assets like fonts or linked graphics. Organize all deliverables clearly, and if possible, include a mini style guide for the client’s reference.
Also Read: Freelance vs Contract: Key Difference You Should Know
6. Post-Project Evaluation
Though often overlooked, the final step in the six graphic design process stages is reflection. After delivering the final files, take time to review the project. What went well? What could be improved in future collaborations?
Gathering feedback from the client either informally or through a short survey can help you refine your workflow. This is also a great time to request a testimonial or case study if the project was a success. Finally, be sure to archive your files properly so they’re easy to access for future revisions or similar projects.
Also Read: 25 Easy Online Jobs for Teens to Make Money from Home
Build Client Relationships Through the Graphic Design Process
In short, a well-structured graphic design process not only improves efficiency but also builds lasting trust with clients. By guiding them through clear stages from briefing to delivery, you show professionalism and clarity. As a result, clients feel more confident in your approach. Over time, this strengthens collaboration and client loyalty.
Moreover, consistency in visual elements is key to maintaining that trust. Thoughtful asset choices like layouts, color palettes, and typography can enhance your results. Especially when designing for merch or marketing, the right fonts for graphic design can make your work stand out.To support your workflow, consider using premium resources from Letterara Studio. We offer versatile fonts from blackletter to 3D icons, plus templates for apparel, mugs, planners, and more. With our POD & editable template license, you get freedom without usage restrictions. So, don’t wait any longer, grab yours now!